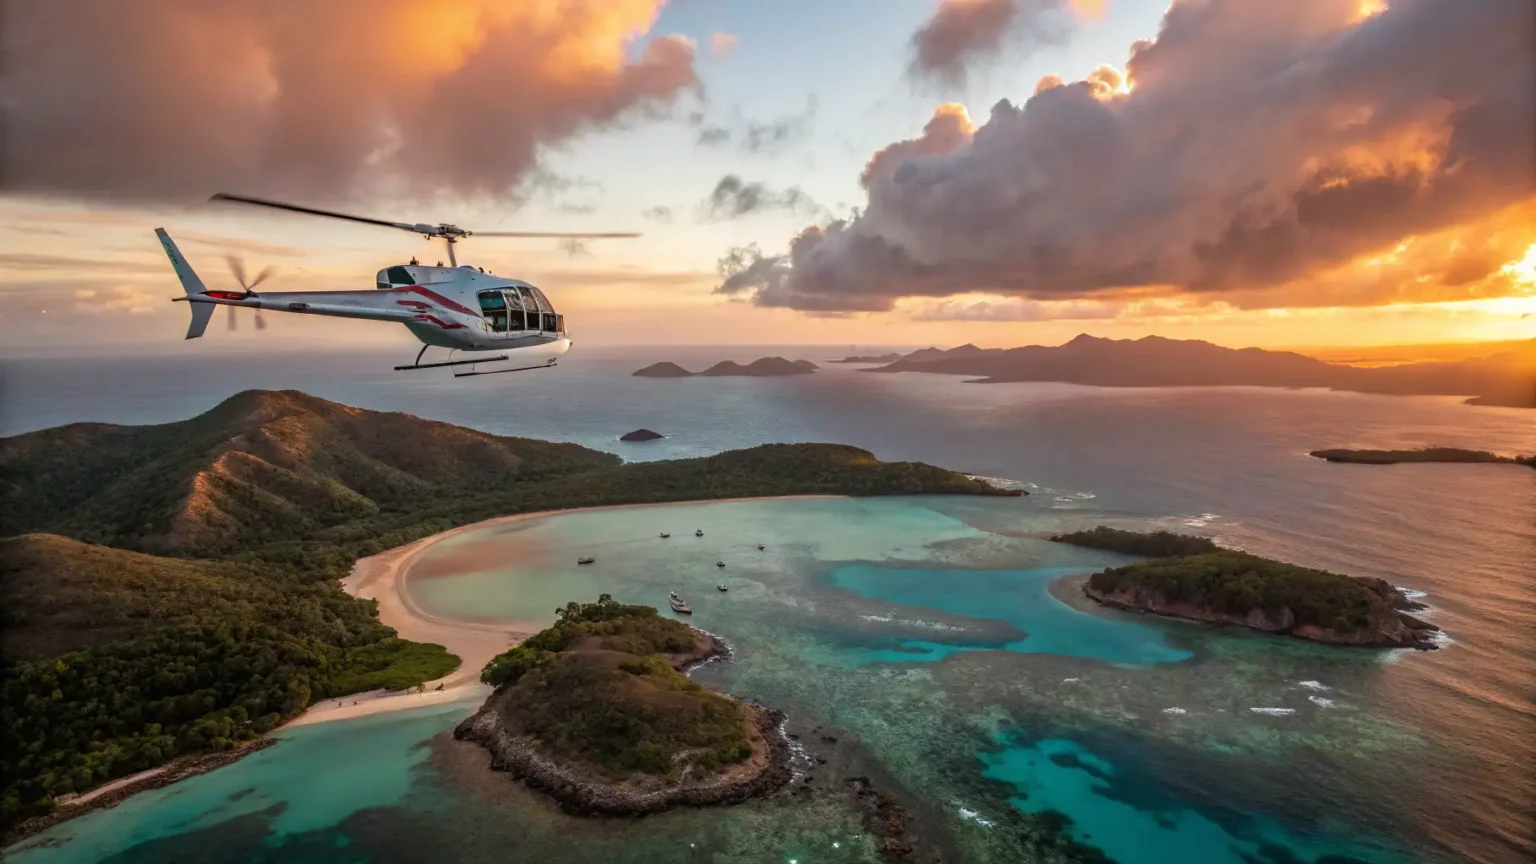
Raja Ampat's pristine waters and islands are a paradise for photographers – here's how to prepare your gear and technique to make the most of it from the air.
Pack and set up your camera before you board – these fundamentals cover you for the whole flight.
A DSLR or mirrorless camera with a wide-angle lens is ideal for capturing Raja Ampat's vast landscapes.
A fast shutter speed helps avoid motion blur caused by the helicopter's movement.
Reduces glare and enhances colors – especially useful when shooting over water.
Bring spares so you're prepared for the entire tour.
Use a high shutter speed – around 1/1000th of a second – to freeze motion, auto ISO for changing light, and aperture between f/5.6 and f/8 for sharp, focused images. Practice before your tour.
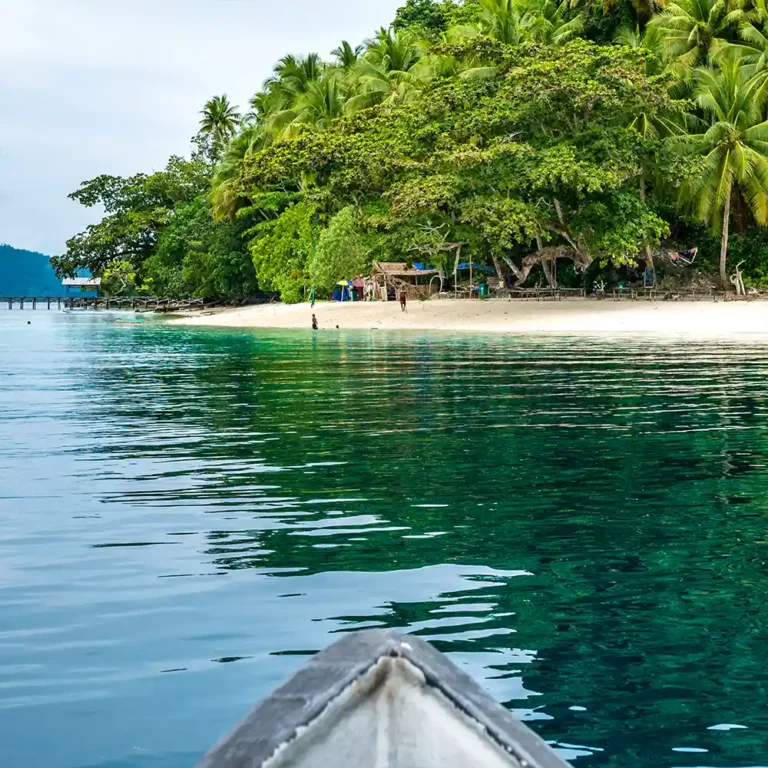
Early morning or late afternoon offers the best light, with long shadows and a warm glow. Avoid shooting into the sun for the most vivid images.
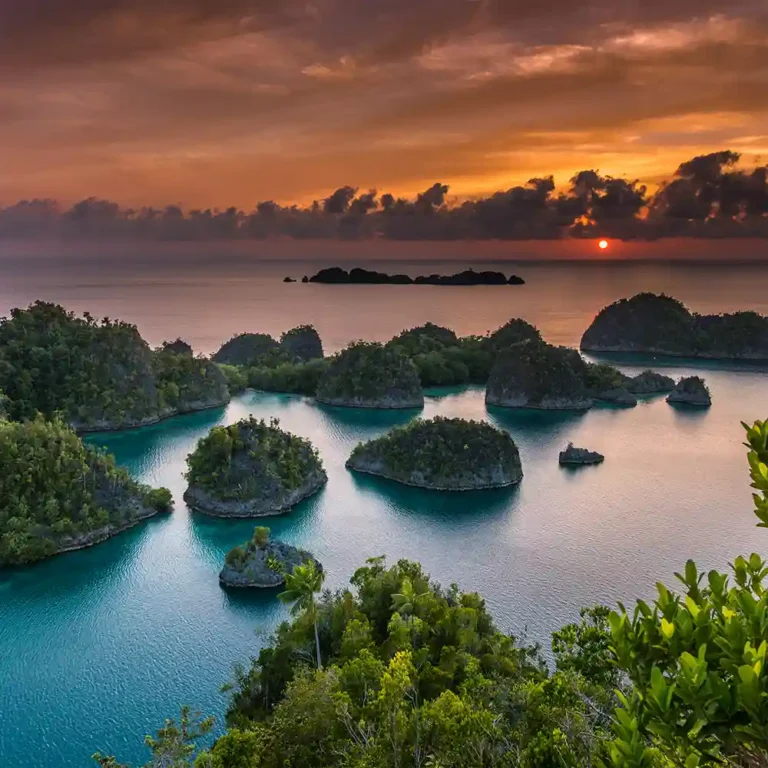
A few composition principles turn a nice view into a striking photograph.
Position key elements off-center for a more balanced, engaging image.
Coastlines and mountain ridges guide the viewer's eye through the photo.
Experiment with different angles to capture Raja Ampat's unique beauty from above.
Check your equipment beforehand, and familiarize yourself with the helicopter's layout – where you'll sit and how to maneuver your camera. Dress comfortably and secure loose items. Self-driving to the departure point? Bring a valid license and IDP.
Use a high shutter speed (around 1/1000th of a second), set ISO to auto, and choose an aperture between f/5.6 and f/8.
Early morning or late afternoon – the light is warm and shadows are long, enhancing the landscape's beauty.
Have your camera gear ready, familiarize yourself with the helicopter layout, and dress comfortably. Bring your license and IDP if you're driving yourself to the departure point.
Message us on WhatsApp for tour availability – and let us know if you have any questions about bringing camera gear on board.
Chat on WhatsApp