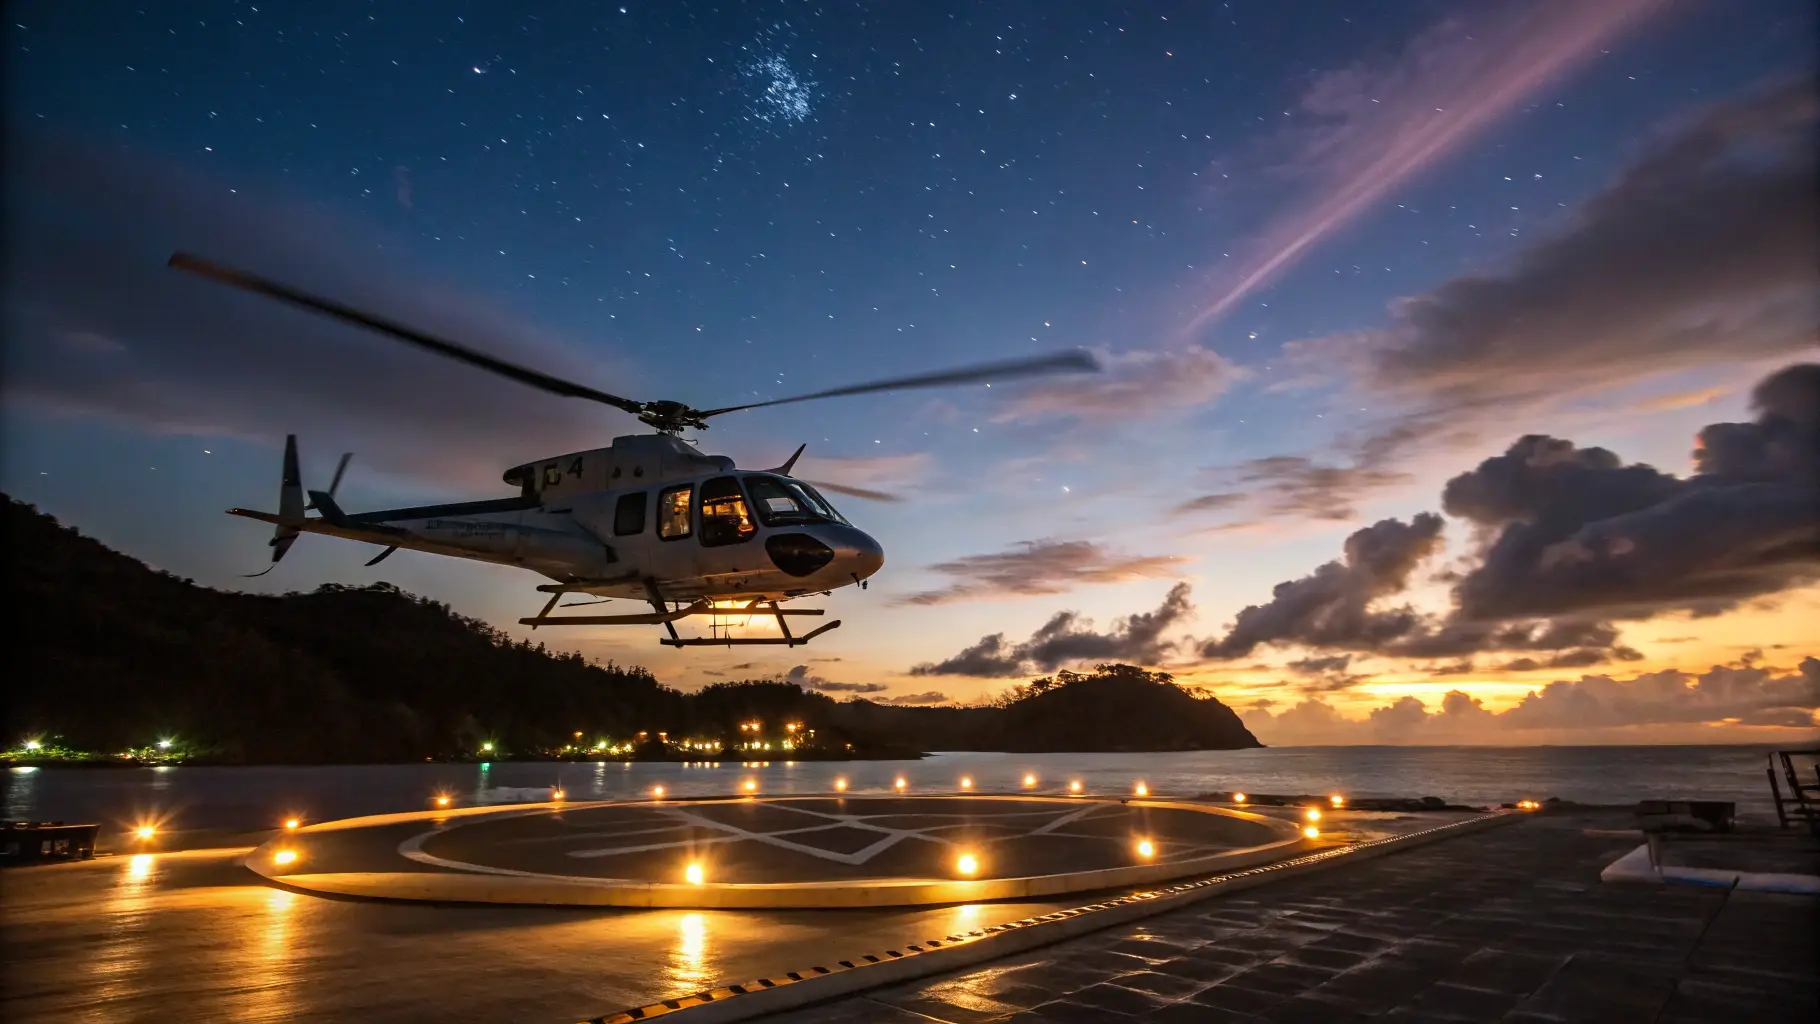

Embarking on a luxury helicopter tour over the breathtaking landscapes of Raja Ampat offers a unique opportunity to capture stunning aerial photographs. With its pristine waters, lush islands, and vibrant marine life, Raja Ampat is a paradise for photographers. Prepare yourself with the right techniques and equipment to make the most of this unforgettable experience.
Choosing the Right Equipment
For aerial photography, equipment choice is crucial. A DSLR or mirrorless camera with a wide-angle lens is ideal for capturing vast landscapes. Ensure your camera has a fast shutter speed to avoid motion blur from the helicopter’s movement. A polarizing filter can help reduce glare and enhance colors, especially when shooting over water. Don’t forget extra batteries and memory cards to ensure you’re prepared for the entire tour.
Mastering Camera Settings
Adjusting your camera settings appropriately is key to capturing sharp and vibrant images. Use a high shutter speed, typically around 1/1000th of a second, to freeze motion. Set your ISO to auto, allowing your camera to adjust to changing light conditions. Aperture settings between f/5.6 and f/8 are ideal for maintaining depth of field while keeping everything in focus. Practice these settings before your tour for the best results.
Understanding Light and Timing
Lighting can dramatically affect the quality of your aerial photographs. Early morning or late afternoon offers the best natural light, casting long shadows and providing a warm glow that enhances the landscape. Avoid shooting directly into the sun to prevent harsh shadows. Plan your tour around these times to capture the most vibrant and dynamic images of Raja Ampat’s stunning scenery.
Framing and Composition
Composition is vital in creating compelling aerial photographs. Use the rule of thirds to position key elements off-center, creating a more balanced and engaging image. Look for leading lines, such as coastlines or mountain ridges, to guide the viewer’s eye through the photo. Experiment with different angles and perspectives to capture the unique beauty of Raja Ampat from above.
Preparing for the Tour
Before your helicopter tour, ensure all your equipment is in working order. Familiarize yourself with the helicopter’s layout to know where you’ll be seated and how to maneuver your camera. Dress comfortably and securely fasten any loose items. Whether you opt for a chauffeur or self-drive to the departure point, ensure you have a valid license and IDP if needed. For more on transportation options, see our guide on /slug-1/.
FAQ
What camera settings are best for aerial photography?
Use a high shutter speed (around 1/1000th of a second), set ISO to auto, and choose an aperture between f/5.6 and f/8 for optimal results.
When is the best time to capture aerial photos in Raja Ampat?
Early morning or late afternoon provides the best natural light, offering warm tones and long shadows that enhance the landscape’s beauty.
How should I prepare for a helicopter tour?
Ensure your camera gear is ready, familiarize yourself with the helicopter layout, and dress comfortably. Have your license and IDP ready if driving yourself to the departure point.